
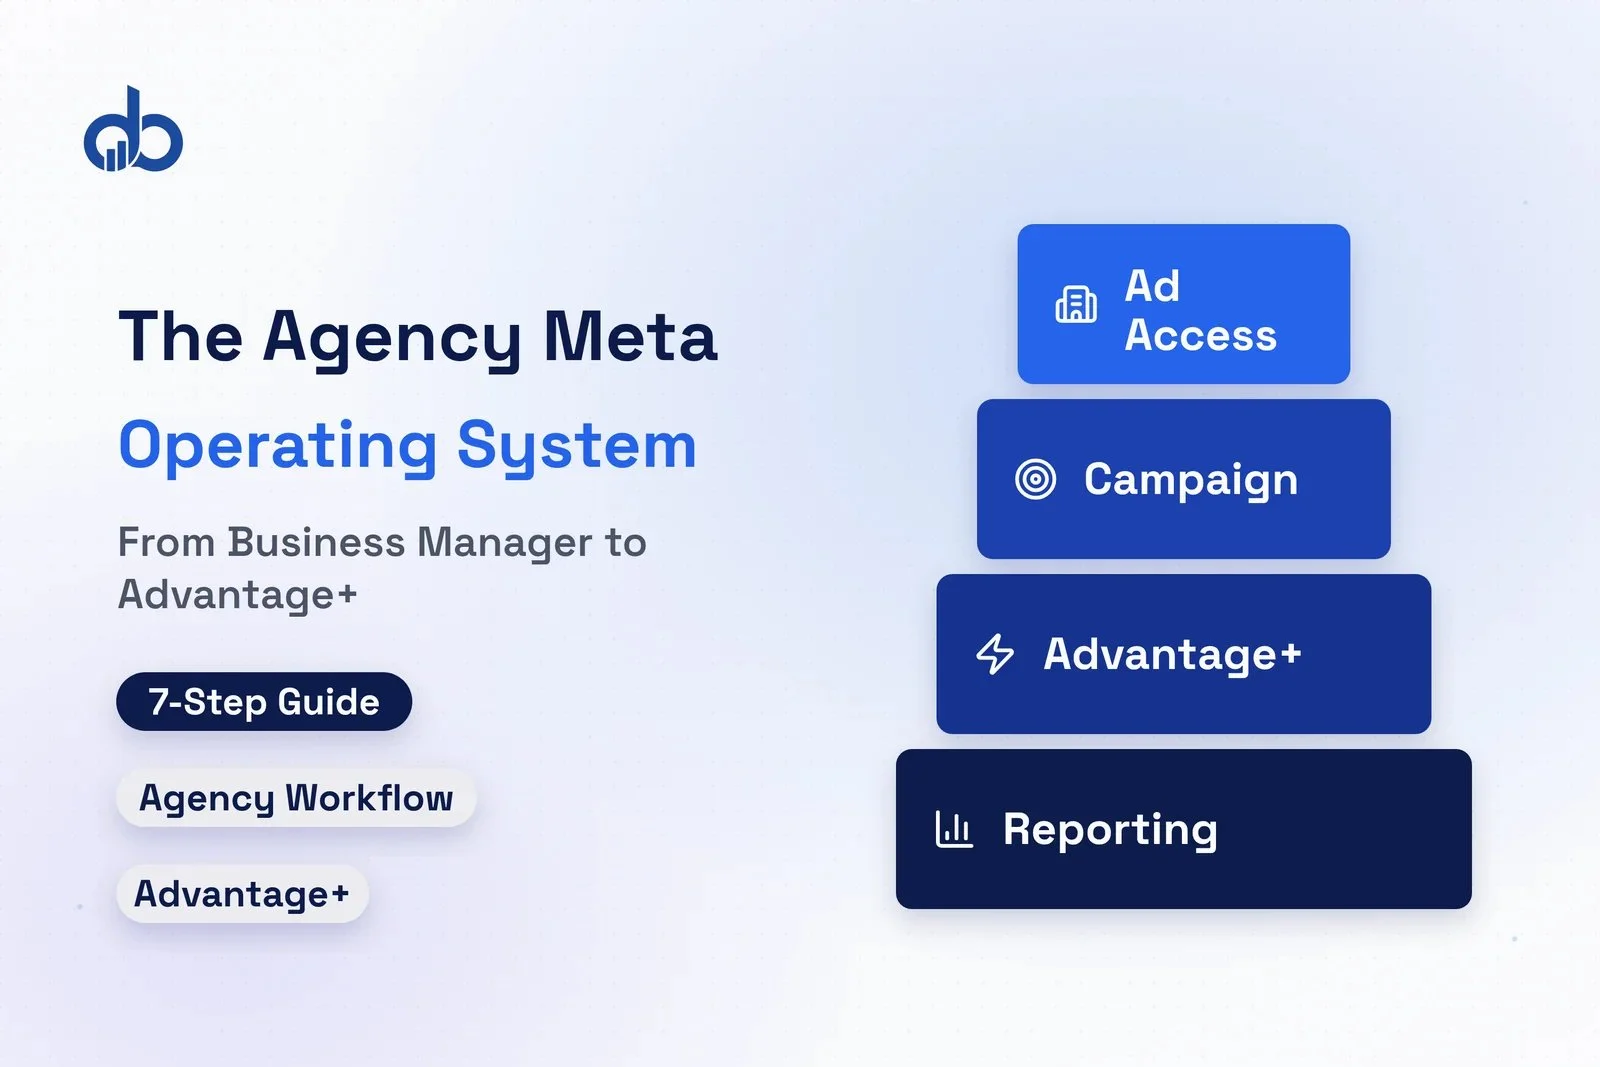
Most digital marketing agencies pick up Meta Ads Manager the same way they learned every other platform. They click through it until they figure out what each tab does. That works fine when you’re running a single brand account. It doesn’t work when you’re managing 20 clients simultaneously, where a wrong access permission can transfer client account ownership to your agency and where one misrouted pixel fires client data into the wrong ad account.
The campaign setup steps are the easy part. What most Meta Ads Manager tutorials never cover is everything that happens before the first campaign: the Business Manager architecture that keeps client accounts clean and legally separated, the pixel delegation model that preserves client data ownership, and the Advantage+ configuration that scales AI optimization across a portfolio without turning client reporting into a black box.
This Meta Ads Manager tutorial is built specifically for the agency workflow. Most agencies discover the structural mistakes only after a client relationship ends badly: the access dispute, the data contamination, or the reporting breakdown that erodes trust. This tutorial is built to prevent all three.
Meta generated $196 billion in advertising revenue in 2025, up 22.1% year-over-year. Facebook and Instagram together captured 63.8% of global social advertising spend in H1 2024. Digital marketing agencies that can’t operate Meta Ads Manager at a professional level are ceding the most-trafficked paid social platform in existence to competitors who can.
Before You Connect Your First Client: What Your Agency Meta Setup Needs
Getting the prerequisites wrong creates problems that are difficult to undo. Misattributed pixels, billing disputes, and account ownership conflicts all originate here. And they’re expensive to fix after the fact.
With digital advertising surpassing 80% of total US ad spend in 2025, every client account your agency manages runs on platforms where access and tracking errors have real budget consequences. Work through this checklist before any client work begins.
Agency-side requirements:
- An agency Meta Business Manager account at business.facebook.com. This is separate from any personal Facebook profile and should be created under the agency’s legal name and business email.
- A verified Facebook business page linked to that Business Manager. Meta requires a page to create and manage ad accounts.
- Two-factor authentication enabled for every team member who’ll access client accounts. Meta enforces this for Business Manager roles.
- A billing methodology decision. The agency needs to decide whether client ad accounts will be billed directly to the client’s payment method, or run through an agency billing arrangement. This decision affects account ownership and is difficult to change after campaigns launch.
Client-side requirements you’ll need before campaign setup:
- The client’s existing Meta Business Manager ID, or their Facebook page access if they don’t have a Business Manager yet.
- Website access (or Google Tag Manager access) to deploy the Meta pixel.
- A verified business domain on the client’s website. Meta requires domain verification to use pixel events in Conversions API setup and to run certain ad formats.
- A confirmed Conversions API plan if the client is on a platform that supports it (Shopify, WooCommerce, and most major e-commerce platforms have native CAPI integrations).
The requirement most agencies skip is the billing and ownership decision. Agencies that take Admin access to a client’s ad account instead of Partner access often discover, when the client relationship ends, that untangling the account structure is expensive and disputed. Phase 1 covers how to avoid that situation entirely.
Phase 1: Setting Up Your Agency Business Manager the Right Way
Most articles covering Meta Ads Manager for digital marketing agencies begin here and then spend two paragraphs on it before moving to campaign setup. This tutorial doesn’t do that.
This phase is where the structural decisions get made that determine whether your agency can manage 20 clients cleanly or spends every quarter untangling access, attribution, and billing problems. Meta’s advertising platform generated $196 billion in revenue in 2025, all of it running through accounts whose structure either supports or undermines the agencies managing them. Get this phase right. Everything downstream depends on it.
Step 1: Create Your Agency Business Manager and Define Your Account Structure
Go to business.facebook.com and create a Business Manager under your agency’s name. Use your agency’s primary business email, not a personal address. This account is the container for every client relationship your agency manages.
Inside your agency Business Manager, you’ll manage three categories of assets: ad accounts, pages, and pixels. Each client relationship will involve all three. Setting up a clear naming convention before the first client onboarding prevents confusion at 15 clients. (And you will hit 15 clients faster than you expect.)
A practical naming convention for agency Business Managers:
- Ad accounts: [ClientName] - [Platform] - [CampaignType] (e.g., “Acme Corp - Meta - Lead Gen”)
- Pixels: [ClientName] - Meta Pixel
- Pages (if managing client pages): [ClientName] - Facebook Page
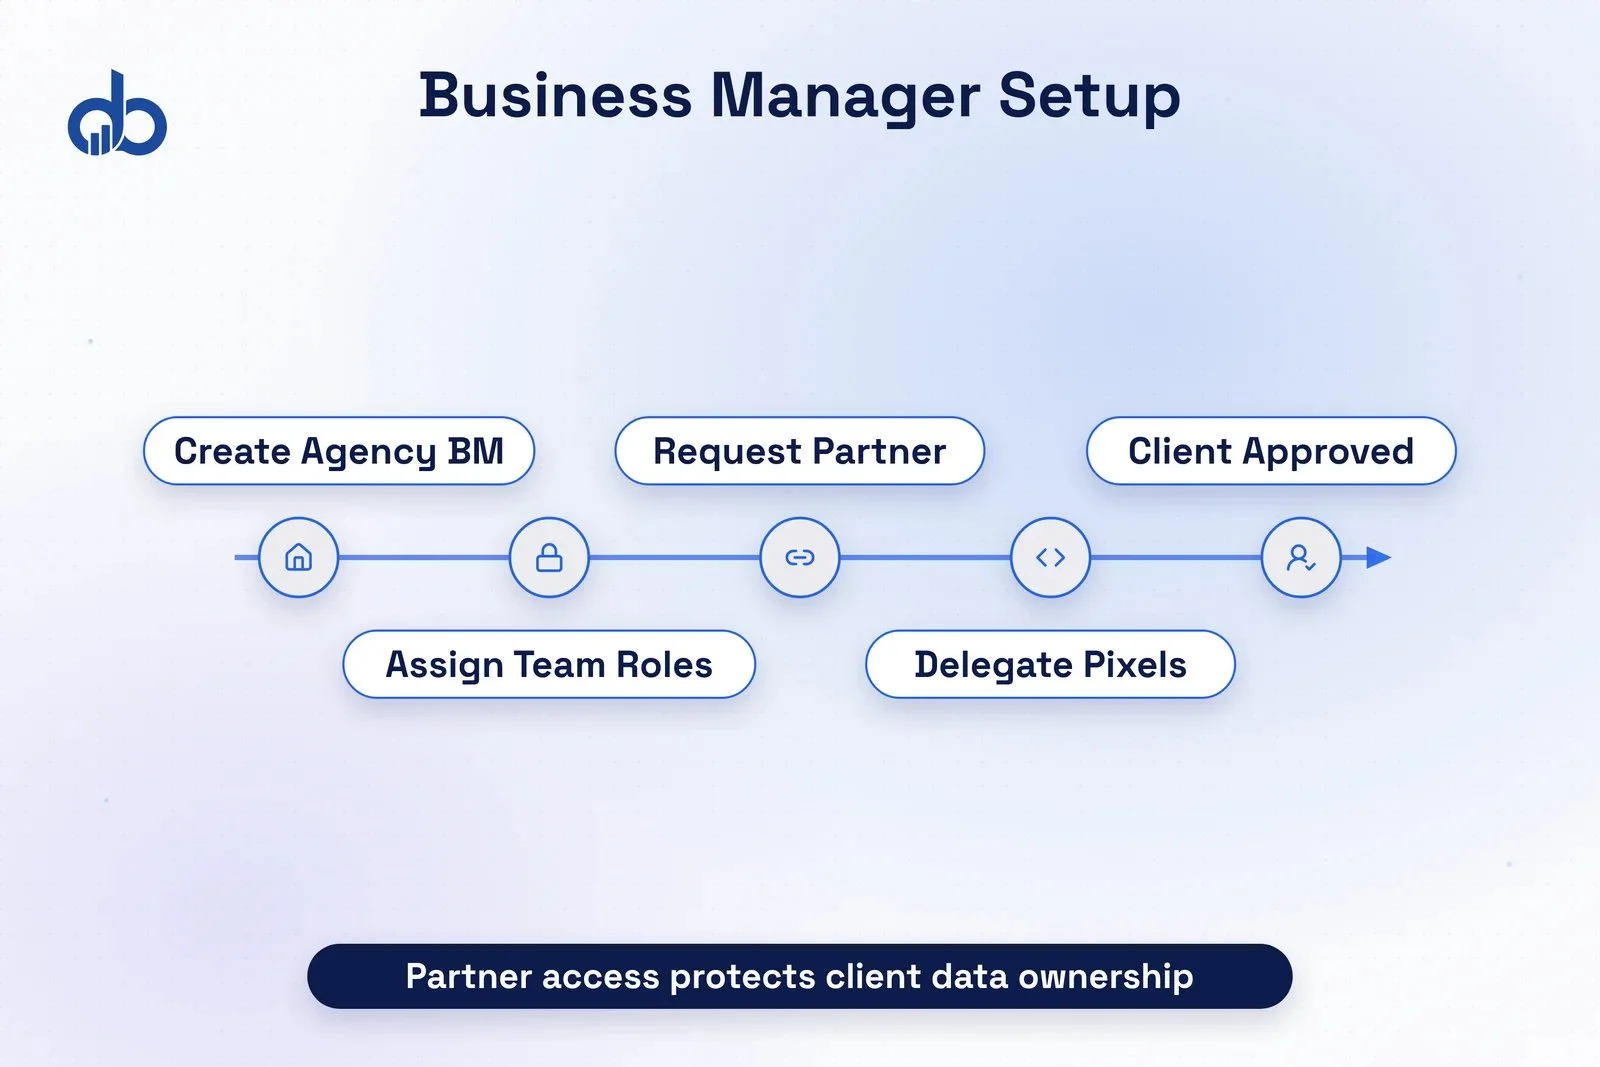
After creating the Business Manager, add your team members with appropriate roles. Admins can change Business Manager settings and billing. Employees can access assets assigned to them but can’t change account settings. Assign Admin access only to senior account owners. Everyone else should be an Employee with specific asset access.
Enable two-factor authentication across your Business Manager before connecting any client accounts. Meta will eventually enforce this. Doing it before a security incident is better than doing it after one.
What success looks like: Your agency Business Manager is live with company information completed, billing configured under the agency’s payment method, team roles assigned, and two-factor authentication enabled for all users.
Step 2: Request Partner Access to Client Accounts (Not Admin Access)
This is the most important structural decision in this entire tutorial. Get it wrong and you’ll spend time you don’t have untangling an account ownership dispute with a client who’s no longer your client.
When an agency takes Admin access to a client’s ad account, the agency becomes a co-owner of that account. The client’s billing information, historical data, and campaign assets are accessible to the agency at an ownership level. If the relationship ends and the separation isn’t handled correctly, the client can lose access to their own account history.
Partner access avoids this entirely. With Partner access, your agency’s Business Manager is linked to the client’s Business Manager as a partner. You get the operational access needed to run campaigns. The client retains ownership and billing control. When the relationship ends, the partnership is removed and the client’s account stays intact.
To request Partner access:
- In your agency Business Manager, go to Partners in the left navigation.
- Click Add and enter the client’s Business Manager ID. Clients can find their Business Manager ID in the Business Settings under Business Info.
- Request the asset access levels your agency needs: Ad Account access (Manage campaigns, View performance), Page access (Create ads, Manage), and Pixel access (Analyze, Advertise).
- The client approves the request in their Business Manager under Requests.
Once approved, the client’s assets appear in your agency Business Manager and you can create campaigns on their behalf without taking over their account.
Pixel delegation works the same way. In Events Manager, the client shares the pixel with your agency Business Manager. You get access to use the pixel without owning it. Client data stays in the client’s account.
The Partner access process requires the client's Business Manager ID, not their personal Facebook profile ID. Clients often confuse the two. Have them confirm their BM ID in Business Settings under Business Info before sending the partner request. It saves a failed connection attempt.
What success looks like: The partner relationship is established in both Business Managers. The client’s ad account, page, and pixel are visible in your agency Business Manager. The client can verify your agency’s access level and revoke it at any time without losing their account.
Running Meta Ads Manager across multiple client accounts without a structured access framework? Get Free Marketing Audit
Phase 2: Building Your First Campaign in Meta Ads Manager
Campaign structure in Meta Ads Manager follows three levels: Campaign, Ad Set, and Ad. The Campaign sets the objective and overall budget allocation. The Ad Set defines the audience, placement, schedule, and budget. The Ad contains the creative.
Every decision at each level affects what the other levels can do. Facebook remains the highest-return-on-investment social platform for 54% of marketers surveyed, which means the campaign structure decisions made here directly affect what clients pay per lead or per purchase. Structure it wrong and no amount of creative quality will save you.
Step 3: Set Up Pixel Tracking and Conversions API Before Launching Any Campaign
Launching a Meta campaign without a working pixel and Conversions API setup means your campaigns will optimize toward the wrong signals from day one. Meta’s algorithm needs conversion data to find your client’s best customers. Without it, it defaults to less reliable signals like clicks and engagement.
Deploy the Meta pixel via the client’s website tag manager (Google Tag Manager, or GTM, is most common) or directly in the website header. Verify that standard events are firing correctly in Events Manager before creating any campaigns. Standard events cover the key conversion points: PageView, ViewContent, AddToCart, InitiateCheckout, Purchase for e-commerce clients, and Lead, CompleteRegistration for lead gen clients.
Conversions API setup isn’t optional for agency clients anymore. iOS tracking changes reduced browser-based pixel coverage significantly after 2021. Server-side events sent via Conversions API are more reliable and improve ad delivery optimization, particularly for Advantage+ campaigns.
For Shopify clients, the native Meta channel app handles CAPI setup automatically. For WooCommerce and most other platforms, a plugin or custom server-side integration is required. Your agency should have a documented implementation process for the top three platforms your clients run. If you don’t have one, now is the time to build it.
Domain verification is required before pixel events can be used in ad optimization. Verify the client’s domain in their Business Manager under Brand Safety. Verification takes 24-48 hours and should be completed before campaign launch, not during it.
What success looks like: Events Manager shows both browser and server events active for Purchase or Lead events. Event match quality is above 7.0 in Events Manager. Domain verification is complete.
Step 4: Choose Campaign Objective and Structure Your Ad Sets
Meta offers six campaign objectives: Awareness, Traffic, Engagement, Leads, App Promotion, and Sales. The objective you choose tells Meta what conversion signal to optimize for, and it determines which ad formats, bidding strategies, and audience tools are available.
For most agency clients running performance campaigns, the choice is between Leads (for lead generation clients) and Sales (for e-commerce clients). Traffic and Engagement objectives optimize for cheap clicks, which rarely correlate with business outcomes. Use them for top-of-funnel brand content, not for campaigns with a cost-per-lead or cost-per-purchase target.
Campaign Budget Optimization (CBO) versus Ad Set Budget Optimization (ABO) affects how Meta distributes spend across your ad sets.
CBO lets Meta allocate budget dynamically across ad sets, putting more spend toward whichever ad set is performing best. This works well when your ad sets are targeting meaningfully different audiences and you trust Meta’s optimization to find the best performers.
ABO fixes the budget per ad set, giving you direct control over spend allocation. Use ABO when you’re testing specific audiences or creative hypotheses and need clean data per ad set rather than Meta concentrating all spend on one winner.
Structure your ad sets around one audience variable at a time. If you’re testing three audiences, run three ad sets. If you’re testing three creative formats, keep the audience constant across ad sets and vary only the creative at the Ad level. Mixing variables across levels makes it impossible to diagnose what drove performance differences in ad campaign optimization.
What success looks like: Campaign is created with the correct objective. Ad sets have distinct, non-overlapping audiences. Budget type (CBO or ABO) is intentional. Daily spend parameters are set with delivery insights showing active ad sets.
Step 5: Build Targeting, Creative, and Budgets Across Client Campaigns
Meta offers three audience approaches for ad sets: saved audiences (manually defined by interest, demographic, and behavior), lookalike audiences (Meta-built audiences that match characteristics of your existing customers), and Advantage+ Audience (Meta’s AI-driven audience expansion that finds its own best targets).
For new client accounts with limited pixel data, start with saved audiences based on the client’s customer profile and lookalike audiences built from any existing customer email list. Lookalikes require at least 100 people in the source audience for Meta to build them, with 1,000-plus being more reliable (per Meta’s lookalike audience requirements).
Creative decisions at the Ad level determine how well the campaign actually performs. Creative quality drives more performance variance than audience selection in campaigns with identical targeting, a consistent finding across Meta advertiser research. Video outperforms static image in most placements, but requires 3-second hooks to prevent early scroll-through. Single image ads convert well for clear, direct-response offers. Carousel ads work for product catalog campaigns and sequential storytelling.
Name creatives consistently across client accounts. A naming convention like [ClientName]-[Format]-[Audience]-[Month] lets you pull creative performance reports across multiple clients without ambiguous ad names that mean different things in different accounts.
Daily budget for new campaigns should be set at a minimum of 10 times the target cost-per-result. If the client targets a $20 cost per lead, the daily budget should be at least $200. Meta needs enough spend to generate a learning phase exit (50 conversion events in 7 days) before the algorithm can optimize reliably.
What success looks like: Three creative variants per ad set are live. Creative names follow agency convention. Budget is above the 10x cost-per-result threshold. Ad set audiences are verified non-overlapping.
Need expert guidance setting up tracking and campaign structure across multiple Meta client accounts? Get Free Marketing Audit
Phase 3: Running Meta Advantage+ at Agency Scale
82% of advertisers now use Meta Advantage+, with AI-driven bidding delivering 27% higher return on ad spend (ROAS) than equivalent manual bidding setups. Advertisers using Advantage+ Shopping campaigns see a 32% increase in ROAS compared to traditional conversion campaigns using manual audience segmentation.
Those numbers are compelling. But the operational implications for digital marketing agencies managing multiple client accounts are significant in a way that most coverage of Advantage+ doesn’t address.
Step 6: Activate Advantage+ and Configure AI-Driven Campaign Optimization
Meta offers two primary Advantage+ campaign types relevant to agency clients: Advantage+ Shopping Campaigns (ASC) for e-commerce clients and Advantage+ Audience for lead generation clients. (If you want the broader picture of how AI is reshaping paid advertising across platforms, our analysis of AI’s impact on PPC covers that territory.)
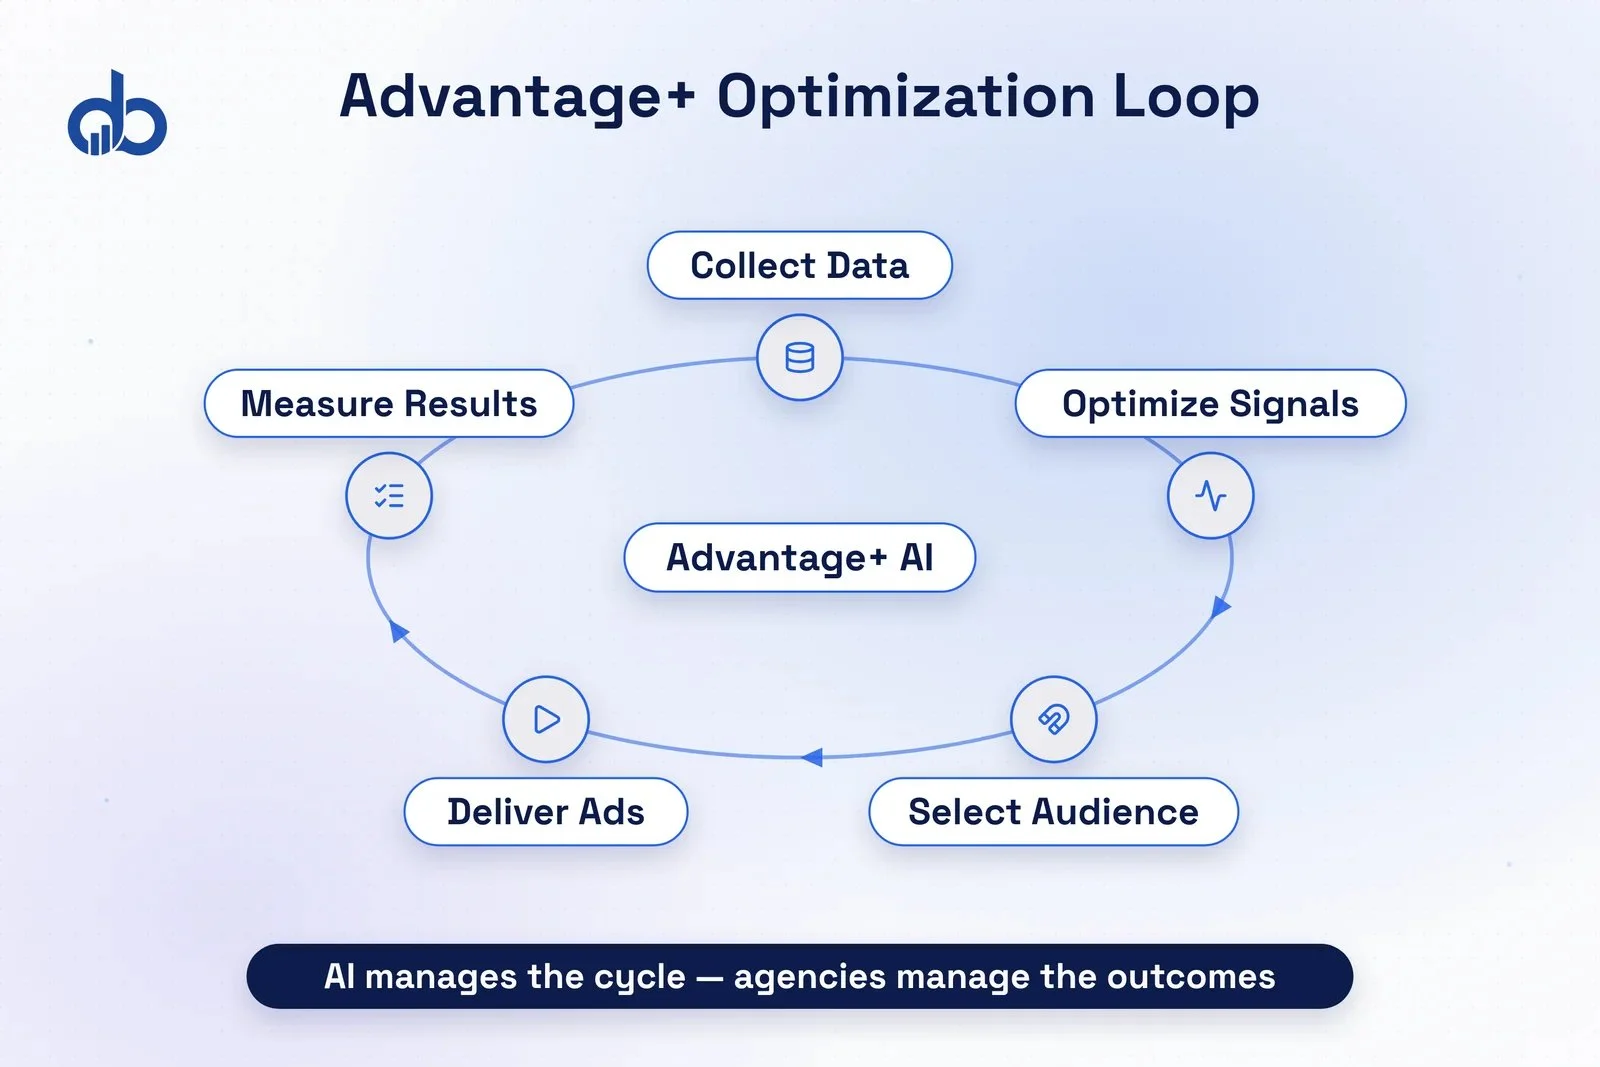
Advantage+ Shopping Campaigns consolidate what would previously have been multiple prospecting and retargeting campaigns into a single campaign. Meta’s AI handles audience identification, creative optimization, placement selection, and budget pacing without the manual segmentation that traditional campaigns require. Existing customer lists can be uploaded to separate the budget allocated to existing customers versus new customer acquisition.
To activate an Advantage+ Shopping Campaign, create a new campaign with the Sales objective and select Advantage+ Shopping Campaign at the campaign level. Upload the client’s existing customer list if available. This tells Meta who’s already a customer so it can prioritize new customer acquisition with the budget.
For lead generation clients, Advantage+ Audience replaces manual saved audiences with AI-driven targeting. When creating an ad set with the Leads objective, select Advantage+ Audience and provide an audience suggestion. Meta uses the suggestion as a starting point and expands beyond it as the algorithm learns which signals drive conversions.
Advantage+ changes ad campaign optimization from a manual segmentation task into a data-governance and reporting task. The spending limit control inside Advantage+ campaigns is the mechanism agencies use to manage pacing across client accounts. Set daily spending limits at the campaign level and use the budget scheduling feature to align with client media plans. Without these controls, Advantage+ campaigns can front-load spend or over-deliver in specific hours, creating delivery patterns that don’t align with client expectations.
What success looks like: Advantage+ campaign is live with daily spending limits configured. Existing customer list is uploaded (for ASC) or an audience suggestion is set (for Advantage+ Audience). Creative performance data is flowing in Ads Manager within 48 hours.
Step 7: Build a Client Reporting Workflow That Survives Advantage+
Here’s where it gets tricky.
Advantage+ creates an operational challenge that generic tutorials never address. When Meta’s AI is making audience, creative, and placement decisions automatically, clients ask questions that standard Ads Manager reports can’t easily answer: “Why did Meta put all the budget into Instagram Stories this week?” or “Which audience drove the most conversions?”
Advantage+ by design reduces the granularity of this data. That’s not a bug. It’s how the system works. But it’s a trust and retention risk for agencies if it isn’t managed proactively.
Build a client-facing reporting structure that focuses on outcomes rather than platform mechanics. The metrics that matter to clients are different from the metrics you use for optimization.
Client-facing report metrics:
- Cost per result (cost per lead or cost per purchase)
- Return on ad spend (ROAS)
- Total conversion value
- Revenue attributed to Meta ads
Agency-side optimization metrics:
- Creative performance by format and placement
- Audience overlap across ad sets
- Advantage+ learning phase status
- Frequency by audience segment
Use Meta’s custom report builder in Ads Manager to create saved reports for each metric category. Export weekly on a consistent schedule. For agencies managing 10-plus client accounts, a reporting automation tool (Swydo, Supermetrics, or Google Looker Studio with Meta API connection) is more efficient than manual exports. Skipping that tool is one of the mistakes agencies make when scaling: at 20 clients, manual reports take about 60 hours of team time a month.
When clients ask about Advantage+ decisions, don’t try to explain the algorithm. Show what the algorithm produced: lower cost per result, higher ROAS, or greater reach at equivalent spend. That framing keeps the conversation on outcomes and away from platform mechanics that neither you nor the client controls.
Build a one-page monthly summary for Advantage+ clients that leads with three numbers: cost per result this month versus last month, total conversion value, and ROAS trend. When those three numbers are moving in the right direction, how Meta distributed the budget becomes a secondary conversation.
What success looks like: Custom report templates are saved in Ads Manager for each client. Weekly report exports are scheduled. A one-page client summary format is documented in the agency’s reporting process.
Where Agency Meta Setups Break Down: What Each Failure Costs
82% of advertisers now use Advantage+, yet the five structural failures below undermine campaign performance regardless of how capable the platform is. These are listed in order of how frequently agencies encounter them and how difficult each is to fix after the fact.
Failure 1: Taking Admin access instead of Partner access
Symptom: Your agency’s Business Manager is listed as an Admin on the client’s ad account, not a partner. Consequence: When the client relationship ends, account ownership disputes can leave the client without access to their own campaign history, custom audiences, and billing records. The fix requires a formal account transfer process and Meta support involvement. It’s slow, it’s frustrating, and it damages the relationship on the way out.
Failure 2: Pixel misfires to the wrong ad account
Symptom: Events Manager in one client’s account is receiving events from a different client’s website. Consequence: Attribution data is corrupted across both accounts. The algorithm optimizes toward the wrong signals. This is the most frequent cause of confusing performance data in the first 30 days of a new client engagement. Fix: audit Events Manager after every new pixel deployment and verify domain ownership before going live.
Failure 3: Launching Advantage+ without a client reporting framework
Symptom: Clients receive standard Ads Manager screenshots with platform metrics they don’t understand. Consequence: Clients perceive the agency as operating a black box, which creates retention risk even when performance is strong. Advantage+ removes the audience and placement controls that previously gave clients something concrete to review. Without a reporting substitute, trust degrades.
Failure 4: Running CBO with too few ad sets
Symptom: A CBO campaign has one or two ad sets, and Meta’s algorithm concentrates all spend on one of them immediately. Consequence: No meaningful performance comparison between audiences is possible. Budget starves newer or less-initially-favored audiences before they can accumulate enough data. CBO requires at least three to five ad sets with meaningfully different audiences to distribute budget with intent.
Failure 5: Skipping domain verification before launch
Symptom: Pixel events appear in Events Manager but are flagged as unverified. Consequence: Specific Advantage+ optimization features and pixel event attribution for Conversions API require domain verification. Campaigns may be restricted in delivery or unable to use specific conversion events. Verification takes 24-48 hours and can’t be rushed.
Your Agency Now Has a Meta Framework, Not Just a Campaign Setup
This Meta Ads Manager tutorial gives you a framework for onboarding clients from Business Manager access through Advantage+ campaign setup to client reporting, without the access, pixel, or account ownership problems that break agency Meta operations.
The challenge for most agencies isn’t learning Meta’s campaign tools. It’s applying consistent ad campaign optimization practices across 20 client accounts at different lifecycle stages. If you’re also evaluating whether certain platforms make more sense to manage in-house, our breakdown of the hidden costs of in-house Google Ads management covers that decision for Google. That operational consistency is exactly what Digiblazon’s Performance Marketing practice is built to solve. Start with a Free Marketing Audit to see what your current Meta account structure is missing.
Not confident your agency's Meta account structure is set up correctly? Get Free Marketing Audit
- Always request Partner access to client Meta accounts, never Admin access, to prevent account ownership disputes when engagements end.
- Set up pixel tracking and Conversions API before launching any campaign; attribution errors from skipped setup are difficult to correct retroactively.
- 82% of advertisers now use Meta Advantage+, delivering 27% higher ROAS on average, but this requires a structured client reporting framework to maintain client trust.
- CBO campaigns need at least three to five ad sets with meaningfully different audiences for Meta to distribute budget with intent.
- Domain verification takes 24-48 hours and must be completed before launch; skipping it restricts Advantage+ optimization features and conversion event attribution.
Frequently Asked Questions
What is the difference between Partner access and Admin access in Meta Business Manager?
Partner access keeps the client as the account owner while giving your agency campaign management rights. Admin access makes your agency the account owner, which creates disputes over audience data, billing records, and campaign history when the relationship ends. Always use Partner access for client accounts.
How do we handle clients who already have messy Meta account structures before we onboard them?
Start with an account audit before touching anything. Map what exists: who has what access, which pixels are active, whether the domain is verified, and whether there are ghost ad accounts with billing attached. Budget 2-4 hours for the audit on a typical mid-complexity account. For accounts with 3-plus years of campaign history, add another hour.
When should we use Advantage+ Audience versus a manual saved audience?
Start manual for the first 30-60 days on any new client account. You need enough conversion data for Meta's algorithm to work with before Advantage+ Audience can outperform a well-defined manual audience. Once you're generating 50-plus conversion events per month, run both at equal budget for 14 days and let the data decide.
Why does Meta require domain verification before campaign launch?
Domain verification is required before pixel events can be used in ad optimization and before Conversions API events are attributed correctly. Without it, Advantage+ optimization features may be restricted and pixel event attribution can be incomplete. Verification takes 24-48 hours and cannot be rushed, so complete it before any campaign setup begins.
What client-facing metrics should we report for Advantage+ campaigns?
Focus on outcomes rather than platform mechanics: cost per result (cost per lead or cost per purchase), return on ad spend (ROAS), total conversion value, and revenue attributed to Meta ads. Build a one-page monthly summary leading with cost per result month-over-month, total conversion value, and ROAS trend.